
Instead of logging in using the cumbersome mail tools provided by your hosting account we recommend that you get yourself a gmail account and set it up to receive all your [email protected] emails. Setting up a gmail account is easy – just go to gmail.com and follow the instructions. You may already have a gmail account, in which case you’re good to go!
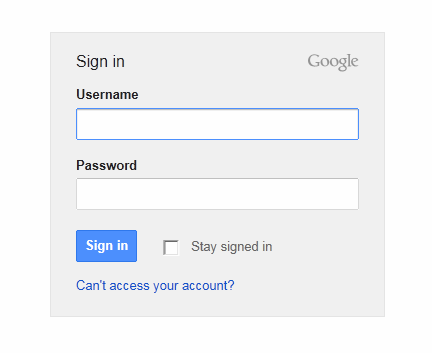
- Log into your Gmail account.
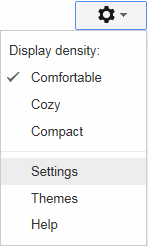
- On the top right of the screen you will see an icon of a cog wheel
 – click on this icon.
 - A menu will drop down – click on ‘settings‘
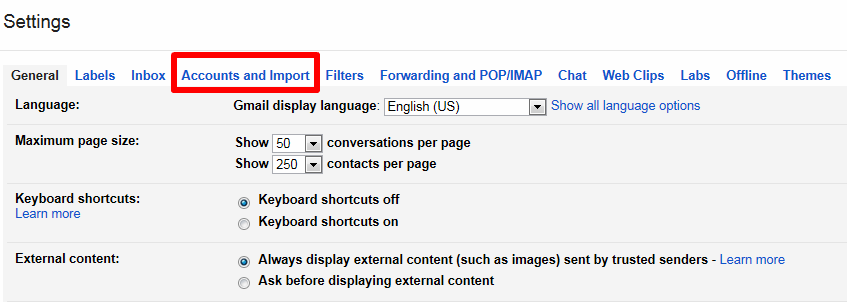
- You will be brought to the Settings screen. Click on the Accounts and Import tab.
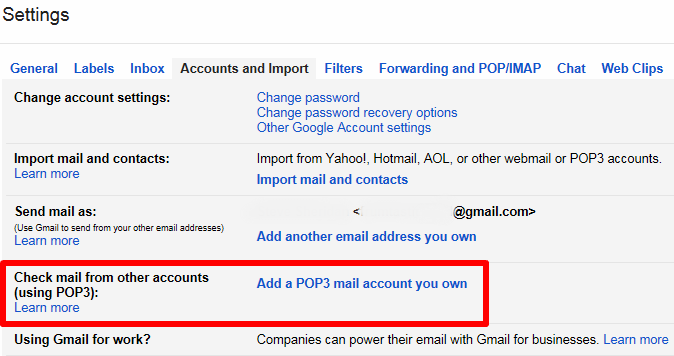
- About 4 lines down this section you will see the option Add a POP3 mail account you own. Click it.
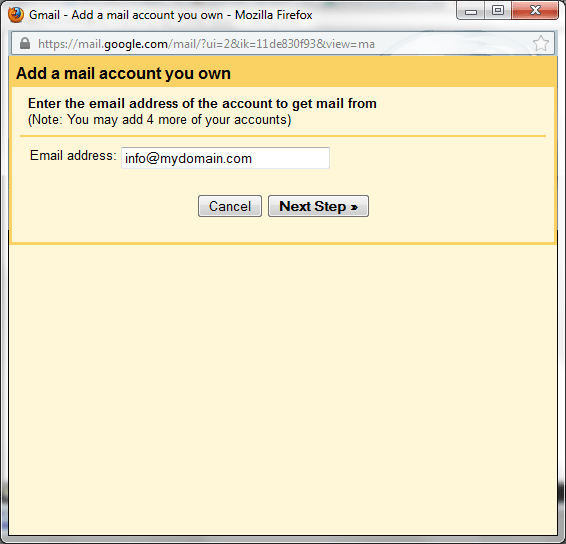
- In the pop up window, enter your new email address (typically [email protected] or [email protected]). Click the Next Step>> button
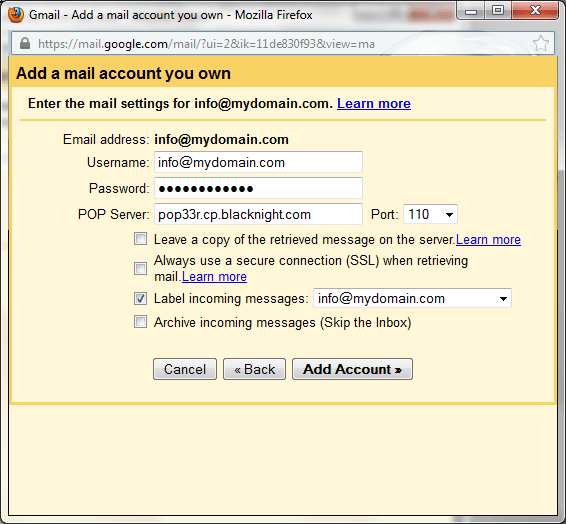
- Your hosting company or website design company will send you details of your: Username, Password and POP3 server.
Enter these details in the relevant boxes. Leave port as is unless otherwise indicated.- We’d suggest that you don’t leave a copy on the server (gmail has more than enough space for all your emails, so why save them twice).
- Also we’d recommend you check the box ‘label incoming messages’ so you can distinguish between gmail mail and website mail.
- Finally click the Add Account button.
- Congratulations – Your email account has now been set up and added to your gmail account. Now make sure and test by sending yourself an email!
Sending Email Address
You can now receive email sent to your [email protected] address, but it would be nice if your reply emails display the same email address (as opposed to your gmail address). So let’s set that up now.
- Click Settings on top right of your Gmail page
- Beside the 2nd option Send mail as: – click Send mail from another address button
- Enter the name you would like displayed in the Name field, and enter your email address in the 2nd field. Click Next Step button.
- Select the Send through Gmail (easier to set up) option and click Next Step button.
- You will now need to verify your email address. Click the Send Verification button. This will send a verification number to your email address (which you have already imported into your gmail account).
- Enter the verification number in the box provided.
- Congratulations – you have now set up your account to send email from your new address.

Comments are closed.